diy: scalloped collar tutorial - part 2

Today we'll cover how to sew that scalloped collar you drafted earlier! There will be a few modifications to the overall construction of the blouse itself for this variation, as you'll want it to the point of being nearly completely sewn before attaching the collar and finishing the neckline. Follow steps 1 through 7 on the instruction sheet. Disregard steps 8 through 11 for now, and follow up through step 16. Do not sew the side seams before attaching the collar!

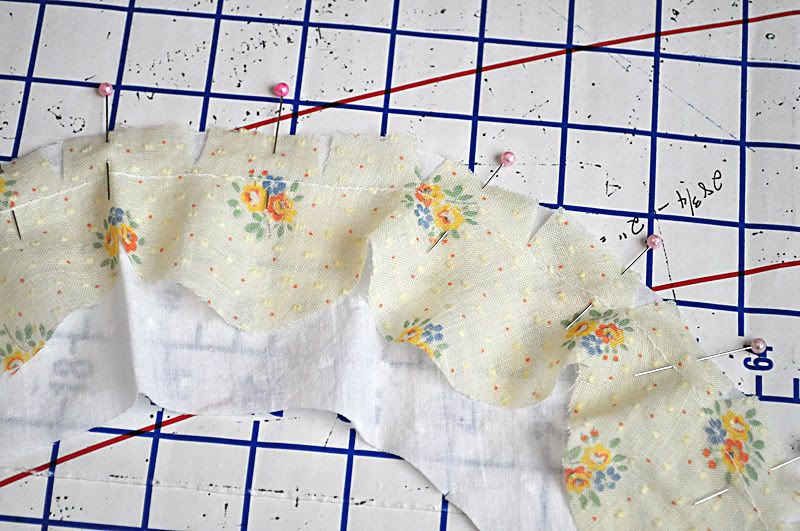
I found that when sewing the scallops on the outer collar piece--especially on lightweight/sheer fabrics--it is easier if I marked the seam allowance on one piece first along the scalloped edge. Here I am marking the 1/4" seam allowance.
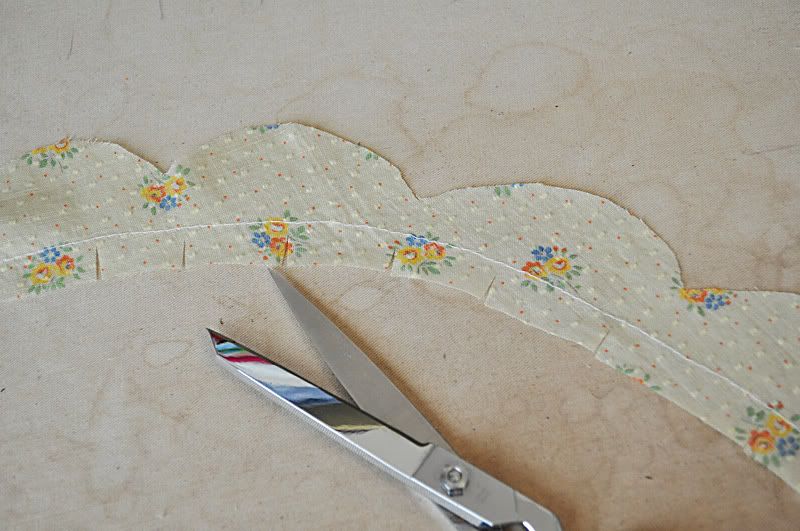
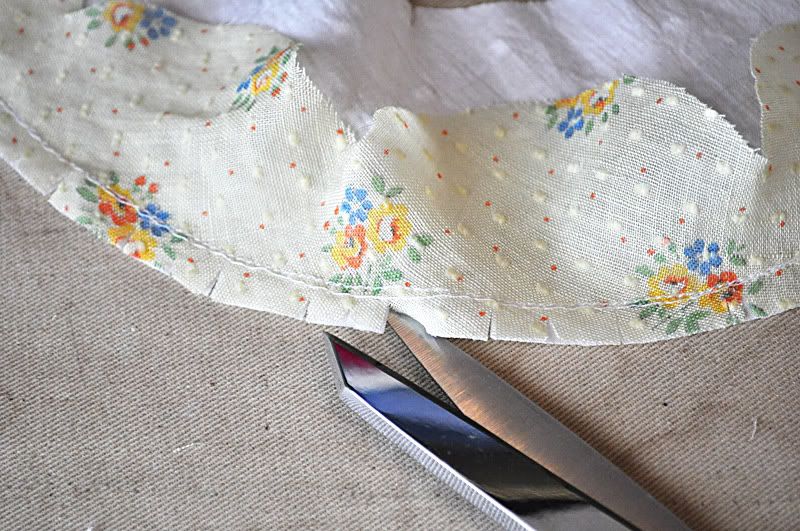
On the outer scallop piece, baste along the smooth edge of the collar (the edge that will be joined directly to the inner collar). Clip at regular intervals from the cut edge to just shy of the basting line (do not cut through the basting line!). Repeat for the other outer scallop piece.
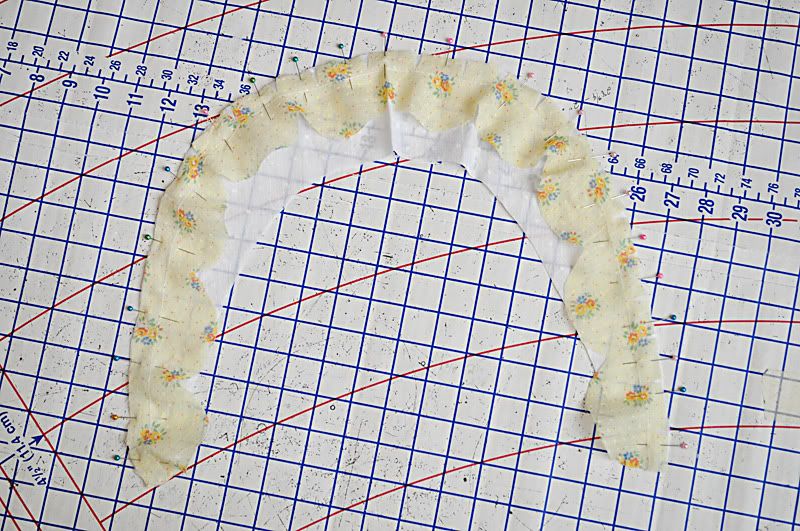
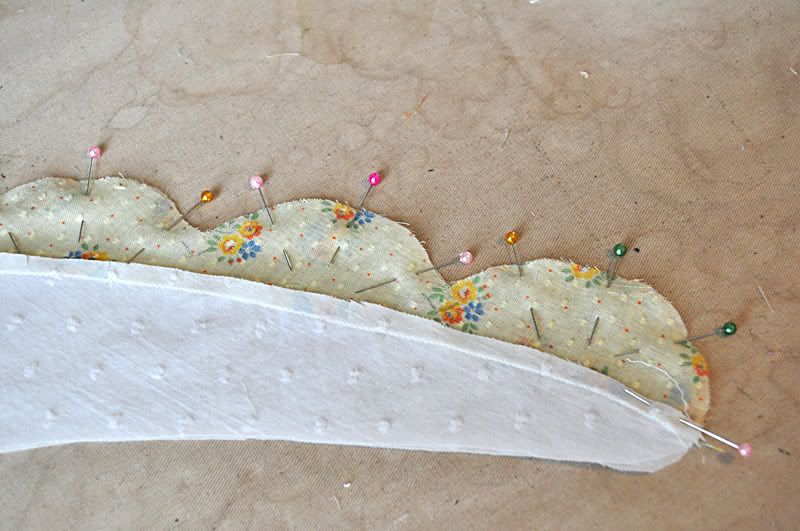
Lay the edge of the outer scallop piece (printed fabric) along the outer edge of the inner collar piece (solid fabric), right sides together. Pin in place, using the notches to manipulate the outer collar piece (printed fabric) to be smoothly pinned to the inner collar curve, matching edges (close up of this step). Repeat with other collar pieces.

Stitch the inner and outer collar pieces together. Trim seam to 1/4" and clip/notch the seam allowance to allow the seam to lay smoothly. Press the seam towards the inner collar piece. Repeat with remaining inner and outer collar pieces.

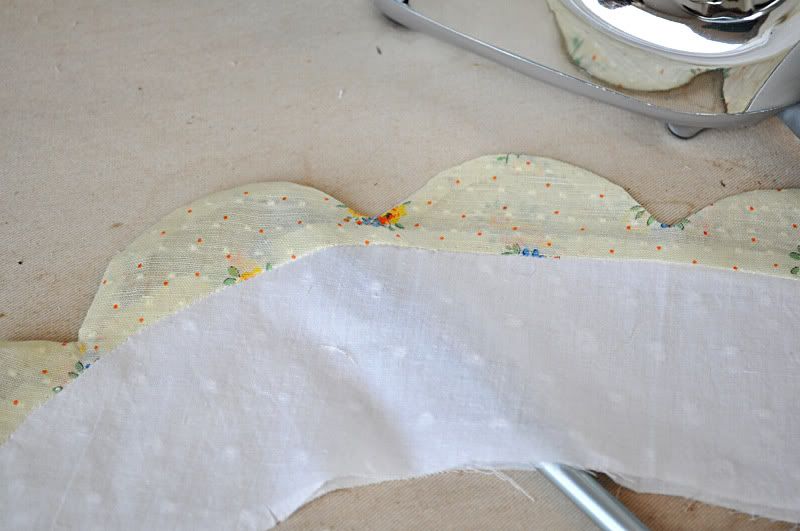
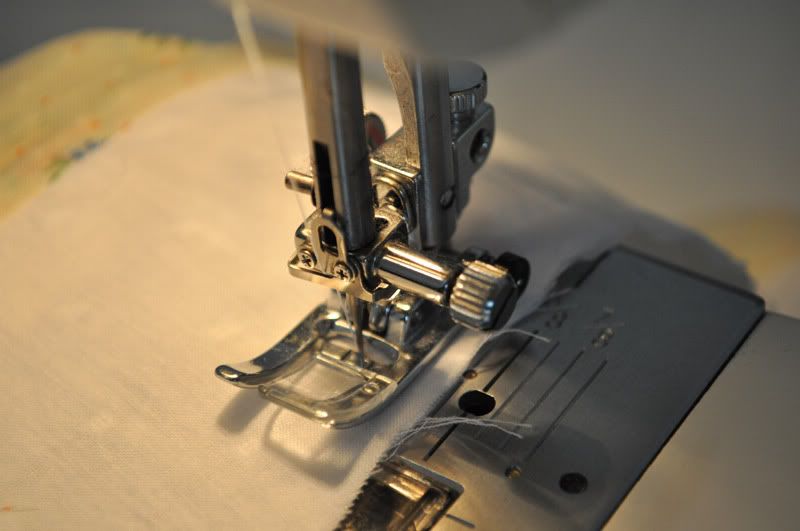
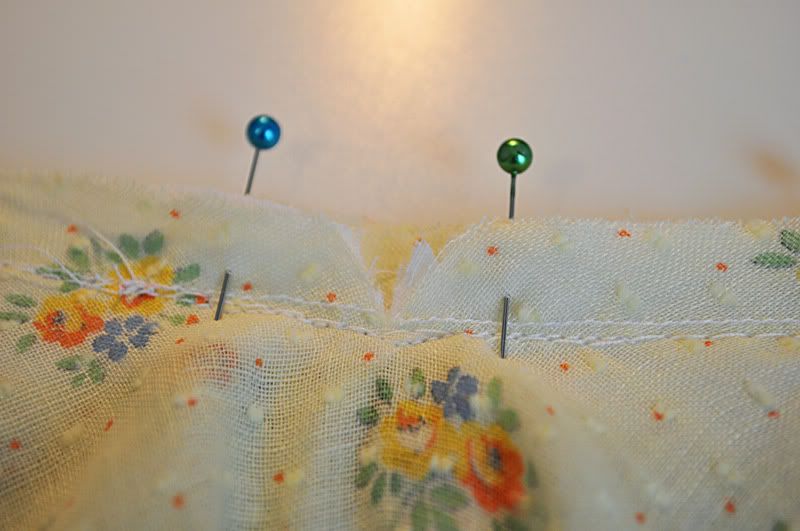
With right sides together, pin the joined collar (now referred to as upper and lower collar) together along the scalloped edge, matching edges. Slowly sew a 1/4" seam along the scallops, carefully stitching along the marked seam line and pivoting at the inner corners.
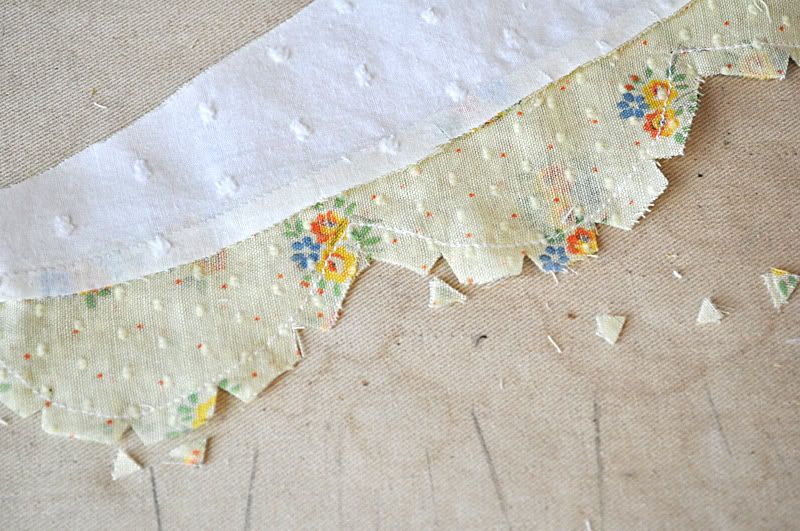
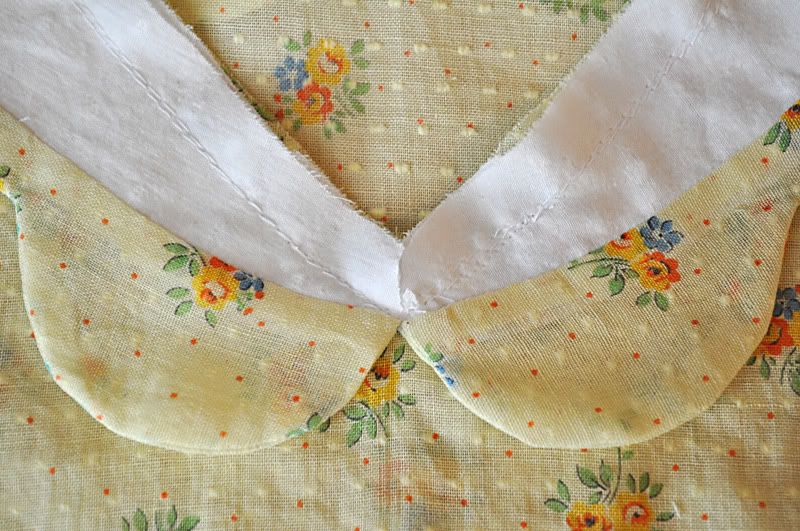
Press collar along stitched edge to "set" stitches. Clip v-shaped notches in the scalloped edge seam allowance; this will allow the curves to turn more smoothly and lay correctly. Turn the collar right side out. Using a smooth-pointed tool (a bone or wood point turner would work, but I used a large-gauge knitting needle!), gently work the edges of the scallops smooth and press flat.
Pin together the neckline edges of the inner collar and baste.

With the blouse right sides out, pin the collar to the neckline edge, matching shoulder seams and notches.

Baste around the neckline with a 5/8" seam. Clip a notch from the seam allowance to the basting at the center front, inner corner.
The collar is now temporarily attached to the blouse. Make sure there is no puckering around the neckline. Pin and stitch the neckline binding, as in steps 8 through 11 of the instruction sheet. The only difference will be that you open the notched center front corner as you sew, so it is straight and you do not have to pivot.

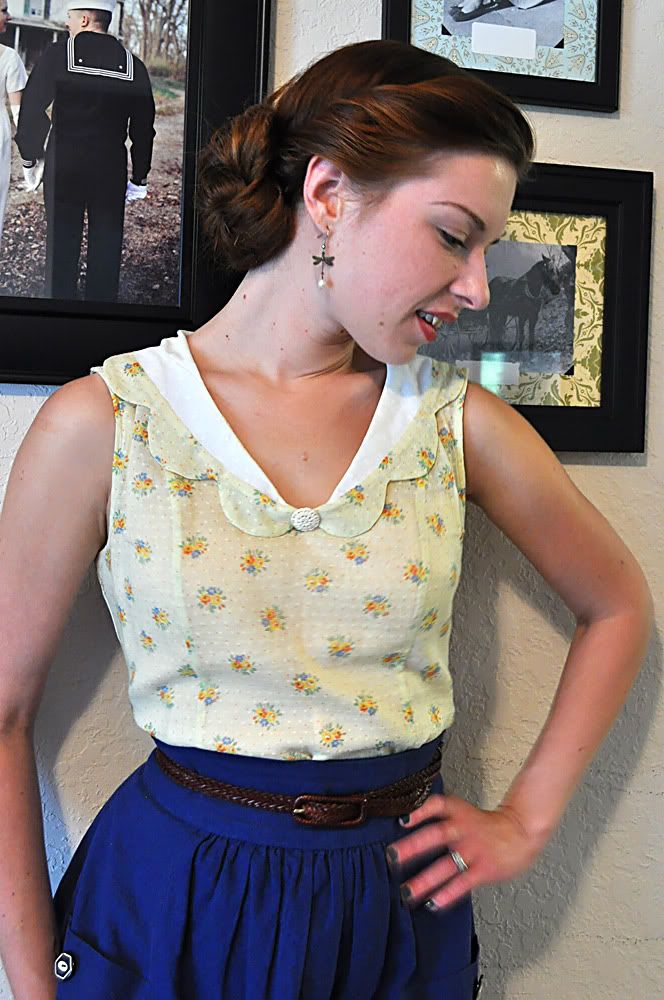
Follow the remaining steps on the instruction sheet for stitching the side seams and finishing. Give it a good press and you're done! You could also add a ribbon bow at the neckline, or make a narrow tube of the blouse fabric and tie it into a bow (as I did on my first version), or even add a button!
Of course I would absolutely love to see your version of this collar! Feel free to drop me a line if you give it a try!


Comments
Post a Comment
Thank you so much for taking time to comment! I LOVE hearing feedback from readers. I welcome truly constructive and thoughtful critique and suggestions, but will not hesitate to delete spam or downright rude comments.