diy: sdsa sewing side seam pockets + the skirt
 I had to resist the urge of my inner-nerd to title this post "sdsa: what has it got in it's pocketses?". But because I am (somewhat) merciful and won't subject you to the fact that I was once an LOtR geek, I decided to just be normal and have a sane-sounding title. haha!
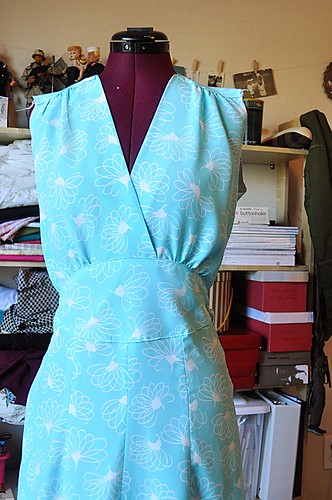 |
| the dress so far (excuse the messy shelves behind... lol.)! |
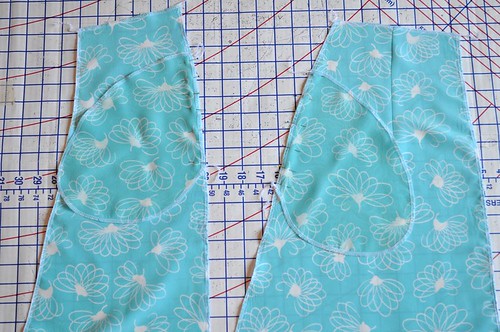 |
| Pinning the side seam pockets. (Don't laugh, but I wasn't paying attention and stitched these to the left side first! Don't repeat my mistake--attach the pockets to the right side seam!) |

Sew from the top to the bottom of the pocket piece (I had a 3/4" side seam allowance). Repeat for the right side-front and remaining pocket piece. Press seams toward the side seam. Construct the skirt back as directed, and attach to bodice as directed in step 7. Piece together the front skirt pieces (steps 9 and 10), being careful not to accidentally catch the pocket piece in the seams! Attach the midriff piece to the skirt front as indicated in step 11 (same rules apply as for sewing to the bodice).
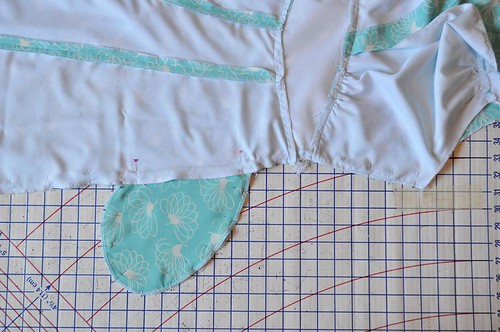 |
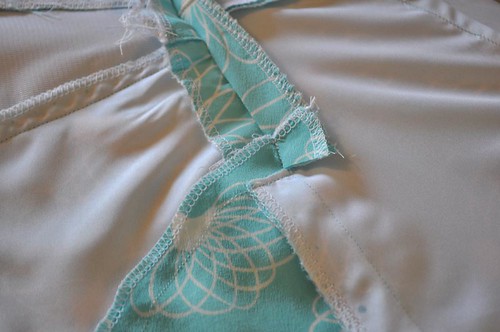
| Close-up view here. |
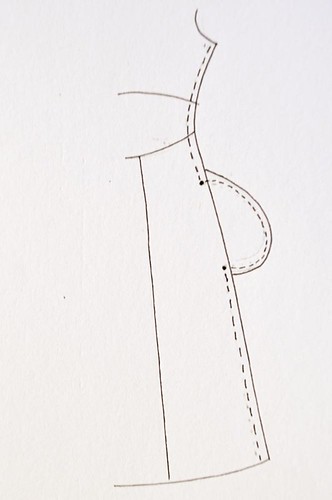
Once you have sewn this seam, press the side seam open. You'll need to clip at the back side seam, right above and below the pocket to allow it to press open properly (below).
Conversely, if patch pockets are in your design, refer to this post on how to sew those to the side-front panels before sewing the skirt seams.
Judging by comments in the previous post, I'm going to give everyone a few days to work on things. Please don't worry if you're "behind" the sew-along; it's not a race! I know everyone has busy lives and muslin-fittings don't always go as planned. So feel free to take your time. I think because of this, the final "dress party" post sharing the finished garments will be a bit later than I had originally planned, so that hopefully it'll give everyone a bit more breathing room to complete their dresses to share. Sound good? Up next: sleeves! I'll be devoting an entire post on how to sew set-in style sleeves properly (I'm shooting for putting the post up late Tuesday afternoon), so if you've never sewn sleeves before don't miss this post!
I'd like to give a big thank you to everyone who has been leaving helpful comments on the sew-along posts, as well as the Flickr group--I am so thankful to have all the input and ideas from everyone!
Also, the lovely Gina has finished a red version of the Swing Dress--isn't it gorgeous?!


Comments
Post a Comment
Thank you so much for taking time to comment! I LOVE hearing feedback from readers. I welcome truly constructive and thoughtful critique and suggestions, but will not hesitate to delete spam or downright rude comments.