diy: sdsa sewing set-in sleeves
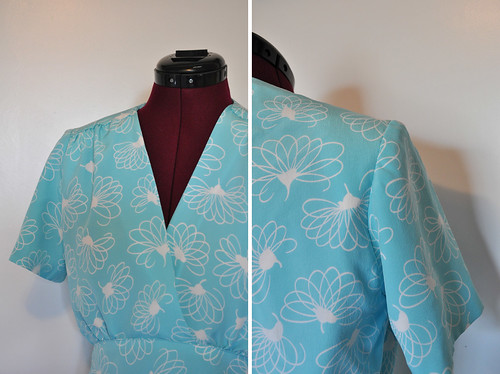
For most of my teenage years I had disaster after disaster with sleeves, particularly the set-in sort. I used to joke that I'd rather move to a tropical island and never have to sew another sleeve than wrangle with them. Well, fast forward a number of years and I think I hit the lightbulb moment when I finally figured out how to adjust sleeve patterns to actually fit an armhole. Many set-in sleeve patterns curiously have far too much ease, meaning them don't ease smoothly and pucker-free. But after adjusting patterns and learning how to sew a set-in sleeve properly, it's made a world of difference! So I hope perhaps this little section of the sew-along will help a few of you who also struggle with set-in sleeves as well (assuming there are others out there who were in the same predicament as I!).
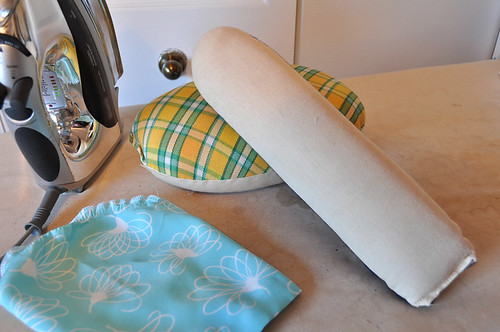
We'll need to do a little prep work before we get to actually sewing the sleeves to the armholes. Firstly, make sure you have some shoulder pads made up (I'm planning on covering mine with underlining fabric, but just had them in the initial, muslin-covered stage for this). You'll also want to have one of the pressing aids* pictured above on hand; the large one is a pressing ham and the other is a sleeve roll. I prefer to use the sleeve roll for this, because my sleeve cap area is small and didn't fit easily over the ham. But other will work.
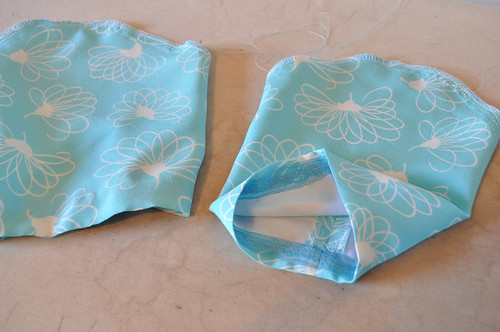
Begin by running two lines of gathering stitches between the dots marked on the sleeve cap on either side above the notches. If you're using a 1/2" seam, run the first line of (basting-size; I use about a 4 on my machine) just shy of 1/2" and the next about 1/4" from the cut edge. Then follow the directions for sewing elbow darts (3/4 sleeve version only), the side seam and finishing the bottom edge as instructed in the directions for the Swing Dress.
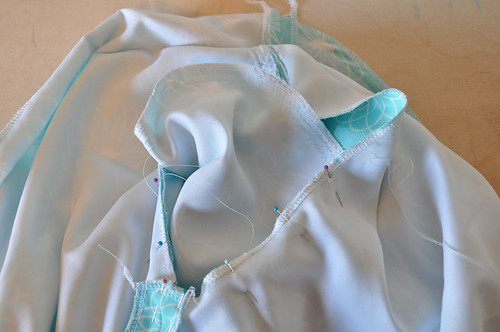
Turn your dress right-side out, and pinning the sleeve to the armhole right sides together. (With the way the dress is positioned, this means that the sleeve is inside the dress.) I always start at the underarm seams, matching those and then working up to the beginning of the ease stitches that run along the cap of the sleeve.
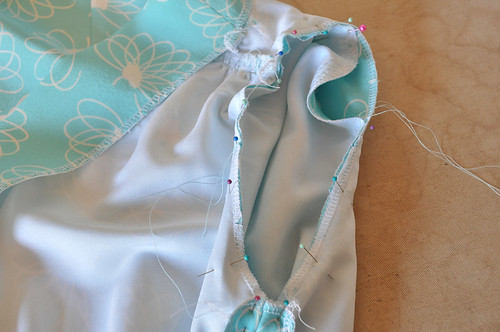
Match the shoulder points on the sleeve and dress back/yoke; pin. You should notice that the front cap section that is unpinned has a bit less excess fabric than the back. This is because the back of the sleeve cap typically has a tiny bit more.
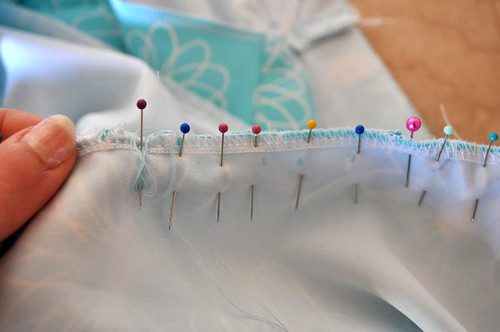
Gently pull up either end of the ease stitches to fit the cap to the armhole. Evenly spread out the ease so there are no folds or visible gathers. Pin about every 1/2" apart to keep things secure.
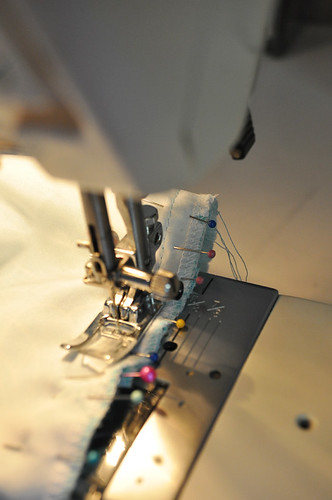
Baste the sleeves by machine or hand, using long stitches along the seamline. Do not press the sleeves after basting! Check to make sure that there are no puckers on the outside of the sleeve cap (beyond the stitching line) or gathers that have been caught. If there are, take out a short section of basting, redistribute the fullness and re-baste.
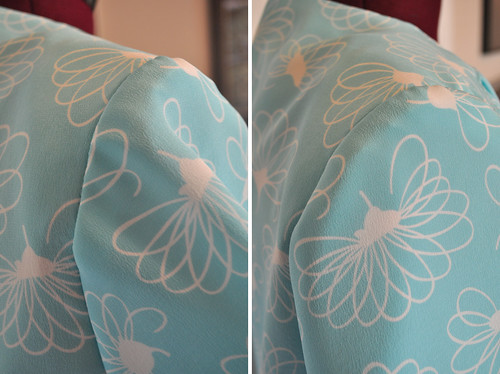
Try on the dress to check the fit and hang of the sleeve (this is when you'll want to slip those shoulder pads in if you opted for them). If anything isn't draping right, undo the basting and redistribute the fullness or rotate the sleeve a bit until you're satisfied.
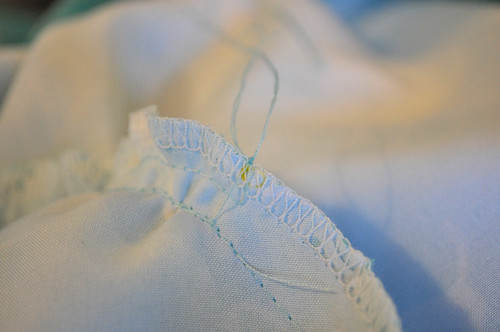
Tie off the gathering stitches to secure them. The next step may seem a bit like extra work--and it is--but it really helps to give the set-in sleeve a bit more polish. (Note: this really only makes a difference if you are using a natural fiber that can shrink with steam. It's pretty useless with polyester and other synthetics, so proceed with that in mind.) Carefully unpick all the basting stitches around the armhole, and remove the sleeve.
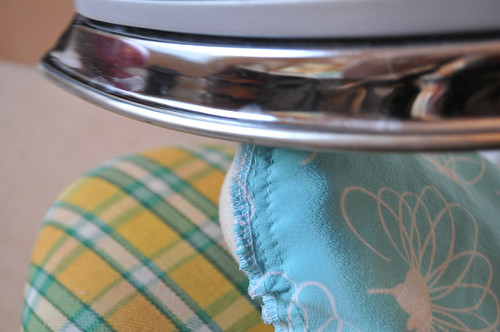
With your iron set to a steam setting (you will not be pressing or touching the iron to the fabric, so a higher setting to produce a stream of steam is fine), place the sleeve cap on the ham/sleeve roll, so it gently curves over the ease stitching. Holding the iron above the cap, steam the ease stitches. As I mentioned above, this really only works on natural fiber materials (wool, silk, cotton, etc.), and will help shrink out some of the excess fullness at the cap both in the seam allowance and outside it. This, however, is not a remedy for getting rid of large gathers or sloppy easing--it only helps set the curve of the sleeve cap and erase a bit of the even easing that you did earlier.
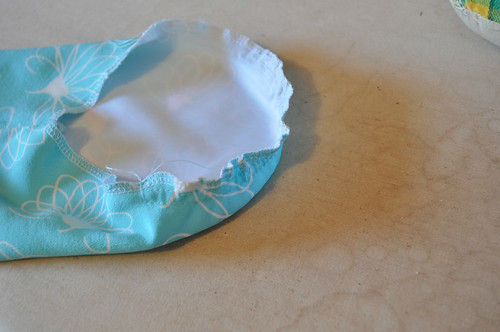
Once you have steamed the ease out of both sleeve caps, re-pin the sleeves to the armholes, matching notches and shoulder points as before.
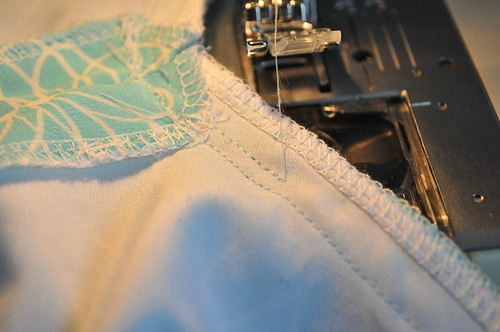
Stitch the armhole seam, starting and ending at the underarm seam. For extra security, you can stitch a second row of stitches at the underarm about 1/16" away from the first line of stitching (in the seam allowance).
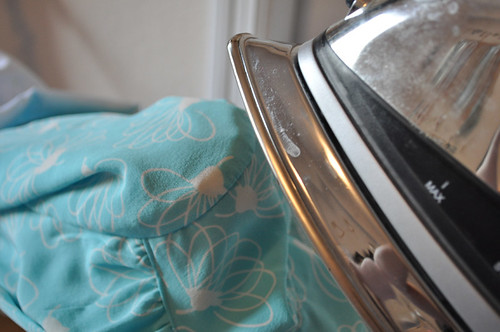
Now steam your sewn-in sleeve using the sleeve roll in the cap to help give it some form and not crush it. I like to start by steaming the cap and seam, and then pressing (lightly!) it so the seam allowances are pressed toward the sleeve.
Whew--that was a bit of a challenge to type and explain! Hopefully it isn't too intimidating; setting sleeves correctly is something that I have found really helps with the overall finished look of a garment. It's a bit of time and effort, but will be worth it! You can tack in those shoulder pads now if you wish as the directions state, or wait until you do all the finishing work (I tend to wait... but there is no particular reason!).
Up next we'll address the zipper and then it's finishing work and downhill from there! How is your dress coming along?
*Don't have a pressing ham? It's one of those tools I can't recommend highly enough to have in your sewing room; and really comes in handy for a wide array of pressing jobs while sewing. They can be pricey, but there are also a ton of great tutorials online! (This is just one of many, many tutorials out there--do a Google search for "how to make a tailor's ham" for loads more!)

Comments
Post a Comment
Thank you so much for taking time to comment! I LOVE hearing feedback from readers. I welcome truly constructive and thoughtful critique and suggestions, but will not hesitate to delete spam or downright rude comments.