diy: sdsa midriff construction
 So how is your Swing Dress coming along? Apologies this post didn't go up yesterday; I ran into some technical difficulties (my camera battery died and I had to wait to recharge it to unload all these photos!). So far I've underlined all the dress pieces, serged the edges, constructed the shoulder seams, interfaced the midriff and topstitched it to the bodice--it's starting to look like a dress instead of a pile of pieces! Since I already covered how to sew the tricky shoulder yoke, I thought I'd show a bit about the midriff piece today. Now, the directions say to stitch the skirt back to the bodice before attaching the midriff, but I find it a lot less cumbersome to attach the midriff first and then move on to the skirt. So I'm assuming you've completed up to step 5 in the directions, and we'll skip 6 and 7 for now.
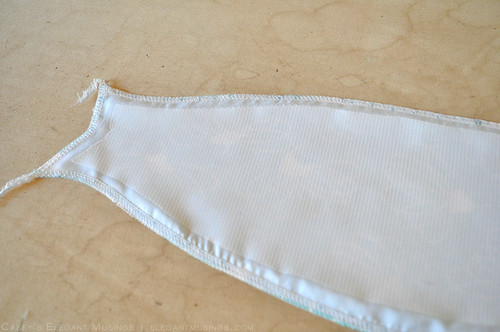
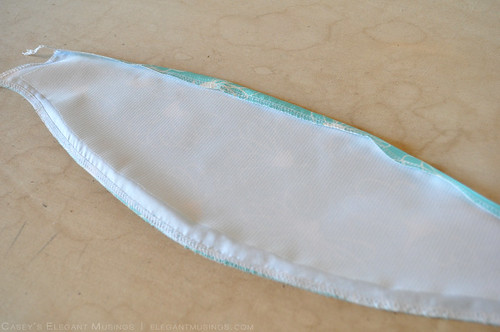
Cut out the midriff from interfacing. If you're using sew-in, simply baste (by hand or machine) the interfacing to the wrong side of the midriff. If you're using a fusible, trim away 1/2" (or the seam allowance you decided on) from all edges and follow the manufacturer's directions to fuse the interfacing to the wrong side of the midriff. If you're worried how it'll look on the inside with the exposed interfacing, don't worry! Anna shared with me a little secret she uses to finish the midriff area. After constructing the bodice and attaching the skirt, she simply cuts another midriff piece from the fashion fabric, folds the seam allowances under, and slipstitches it to the inside of the dress, covering up the interfacing (and also neatly concealing all the edges). Brilliant! So keep that in mind if you'd like to neaten the inside a bit further along in construction.
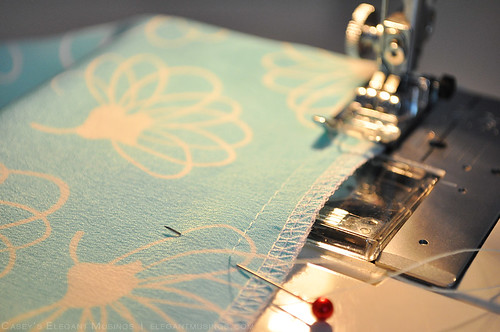
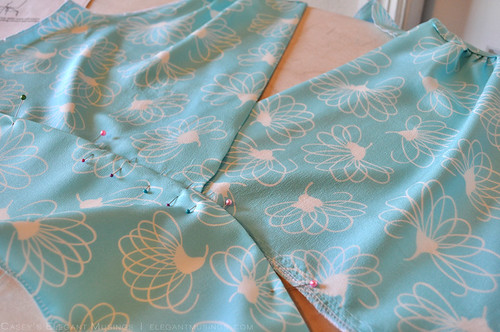
Begin by pinning the center front section, between the gathering, to the midriff, matching notches. Once you reach the gathering sections, pull the threads to gather the fabric and fit between the two notches on either half of the midriff piece. Make sure the gathers are evenly spaced and aren't bubbling in any way.
Pin the gathering area and remainder of the midriff to the bodice front, securing the ends of the basting stitches used for gathering.
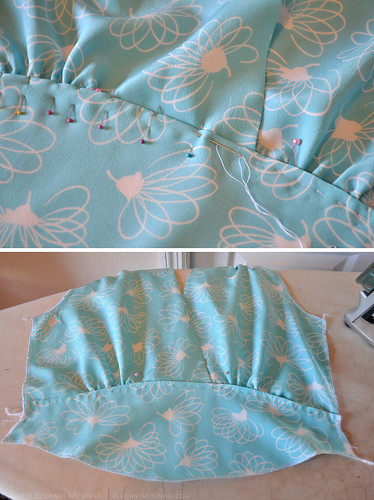
If you're using a thin, slippery fabric like I am, then you'll want to hand baste the midriff and bodice together before you topstitch. Why? Partly because it is more secure than pinning, and it'll also help the line of topstitching to remain unbroken and even (you don't have to stop every few centimeters to take a pin out!). I used Gutterman's silk thread for basting, but any thread will do as this is purely temporary. Run the basting stitches about 1/4" to 3/8" from the top edge of the midriff. We'll be stitching really close to that edge, so just make sure the basting won't interfere.
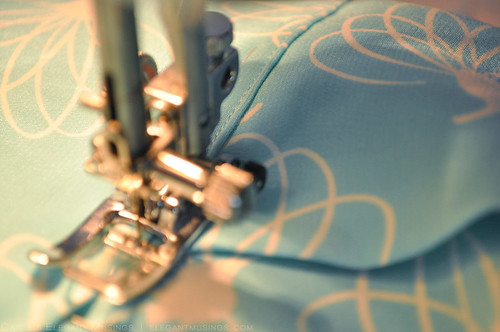
Now take the bodice over to the machine and begin topstitching at one end of the midriff piece, about 1/16" from the midriff top edge. Go slowly so you don't have uneven stitches. If you're using a lightweight material, you'll want to use a stabalizer (I like lightweight paper) underneath to protect the fabric from the feed dogs.
Once you have completed the topstitching, remove the basting stitches and secure/trim the gathering threads on the backside of the midriff (I usually like to tie these off before I trim them, but I tend to be a bit paranoid!).
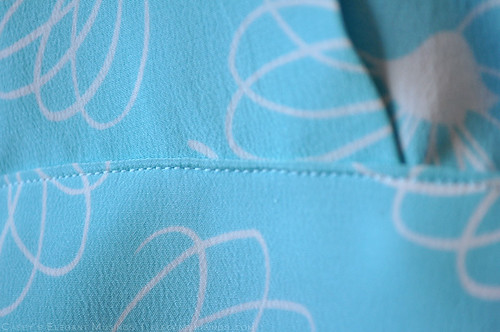
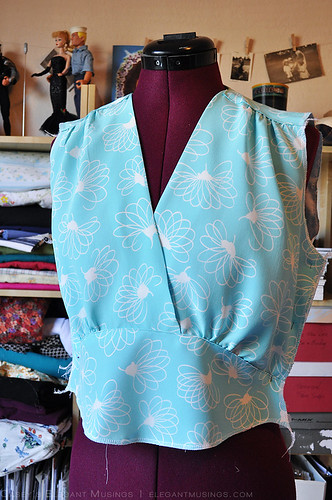
Press the midriff piece lightly to set the stitches, being sure to press the gathers. Easy! Next up, we'll finish the bodice and start constructing the skirt; including any option pockets you may have added. I'm aiming for a post over the weekend or first thing next week, as I think this will allow everyone to catch up a bit. Does that sound like a reasonable timeline, or do we need a bit more time? Do let me know--I don't want to be rushing along too quickly for everyone! If we need to take the rest of the week to catch up and such, please don't hesitate to tell me.

Comments
Post a Comment
Thank you so much for taking time to comment! I LOVE hearing feedback from readers. I welcome truly constructive and thoughtful critique and suggestions, but will not hesitate to delete spam or downright rude comments.